INTRODUCTION
Following is a guide to generate the Input History using the PSO Workbench.
These steps have been defined using a PSO 6 environment and these can be slightly different in other versions.
APPLICABILITY
This mechanism is especially used for PSO 6 Azure hosted instances.
The PSO 6 in Azure is hosted as Virtual Machine Scale Set (VMSS) and as per the Product Development Team’s recommendation, RDP access for the VMs are not configured.
Hence, accessing the Input History directory physically is NOT possible.
MECHANISM
SETP 01:
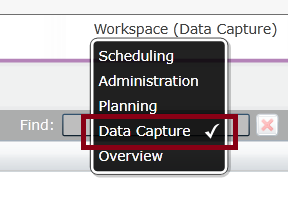
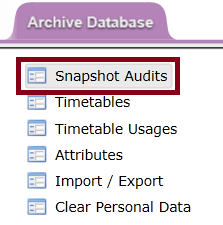
Open the “Snapshot Audits” window. First, select the “Data Capture” from the top menu and then select “Snapshot Audits” from the Lift-Side menu.
| 
|
STEP 02:
The filtering should be done at this point. First, you should select the “Schedule” option from the Databases menu and then, the correct dataset needs to be selected from the Dataset dropdown menu.

|

|
STEP 03:
Now, focus on the “Audit” section which is located in the lower section of the window.

STEP 04:
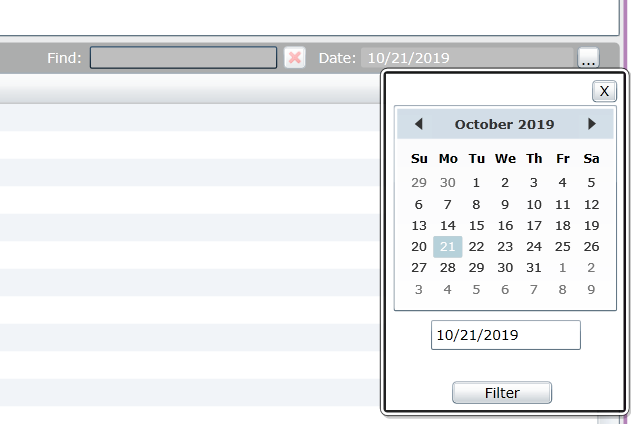
In the Right Side of the Audit title bar, there is a button with three-dots “…” and that can be used to select the particular date.
STEP 05:
Deciding to which point you require the Input Data and move to the specific row. Assume that, you want to pull out the data from till 16th October 2019, 9.30 PM. Check the Audit Timestamp and determine the specific row.

STEP 06:
Then, click the download button (the button with the icon down-arrow) and it will open up a list. From the list select Download Files.

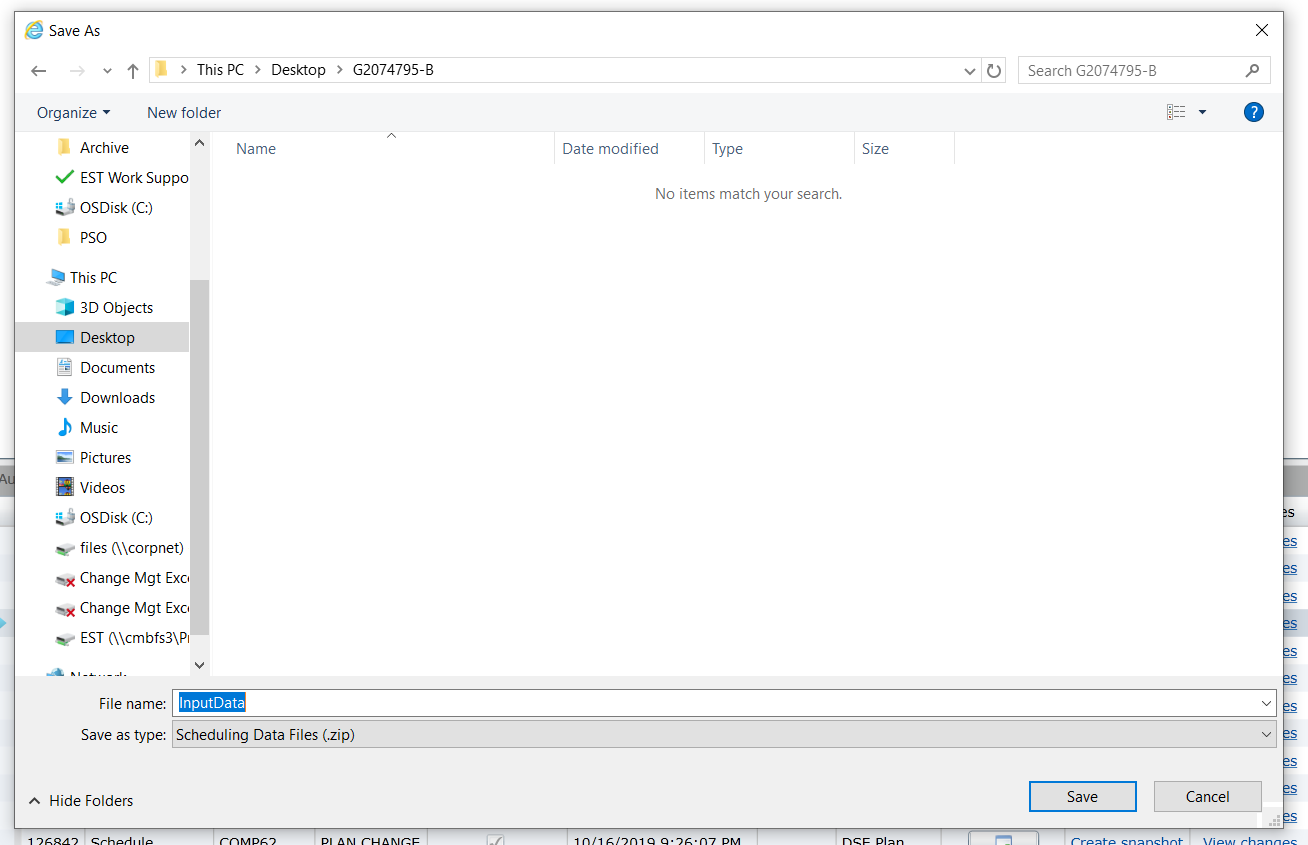
Then, it will open up a Save As form-window and you can give a file name and save.
STEP 07:
The physical folder contents the saved zip file and please unzip it.
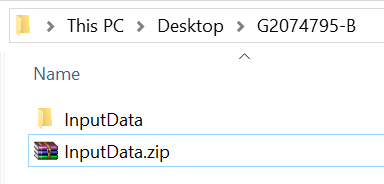
This file contains all the XML files from the LOAD file which sent last to the mentioned date.
The period can be further elaborated as bellow.
START: The LOAD files sent for the mentioned day.

END: The mentioned day and time.

|
SPECIAL NOTE:
If you look closely, there are the Audits Table have a field Update Type and these update types have their explanations.
As you can see, the Audit table contents a mix of mentioned types. That means I contain both XMLs received from the PSO Service and the XMLs generated and sent from the PSO Service.
Since our objective is to get the files received by PSO (Content of the Input History folder.) there should be only the LOAD and CHANGE XMLs.
That filtering can be done using the Scheduling Data Manipulator tool.
|
STEP 08:
Open the Scheduling Data Manipulator tool and select the Alter Files tab.
Then, set the Specify Base Directory to the extracted location of the exported zip file and press the Extract Input Files button.
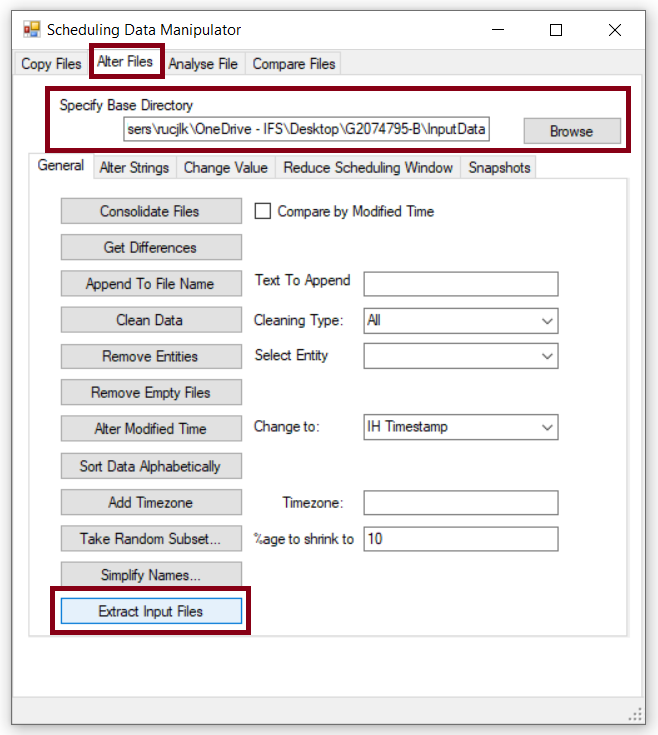
As a result of that, two new folders (Input and Output) will get created inside the specified folder.
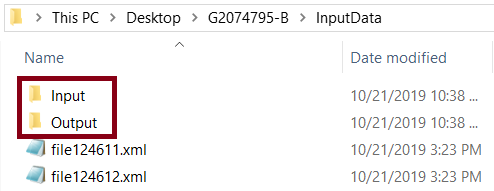
Form these two newly generated folders, the folder Input carries all the XMLs received by PSO and in other words, the Input History folder.

The first XML is the LOAD file and the rest of the XMLs are CHANGE files.
