")

Hello, I am attempting to create an arrival to receive a Purchase Order line via REST API. I am inspecting the endpoint calls that Aurena makes during the process, but i’m unable to figure out which call is actually performing the receipt. I see calls to CreateReceiptSet but the payload doesnt include the information from the arrival line (PO #, Line, Etc). I also see CreateArrivalReceipt, but it only uses what i assume is the OBJKEY that is returned from CreateReceiptSet. I know this is a little tricky because an assistant is involved, but I cant seem to make sense of the calls that are happening. Any tips for figuring out how this assistant works?

Solved
Create arrivals via REST in IFS Cloud
Best answer by Trewon
Hi
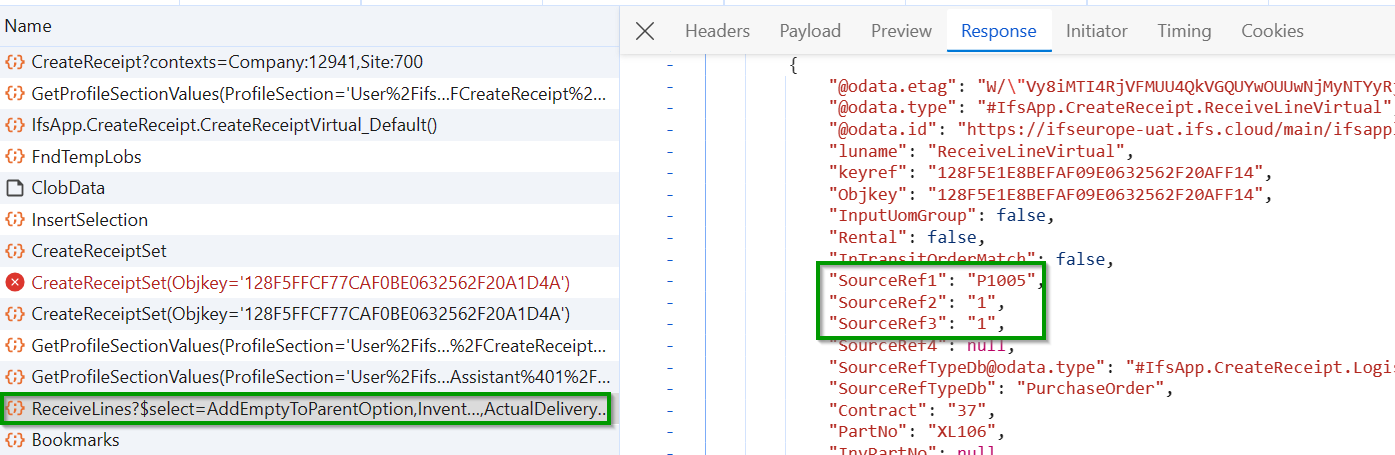
It’s quite interesting how IFS assistants work 😀, The workflow behind editing fields in an assistant involves several HTTP requests, beginning with a POST API call to create a record in a temporary table when a field is first edited. Subsequently, a series of PATCH requests are made to update the initial record created. Each request returns the objkey of the corresponding record in the temporary table. Upon completing the assistant, a separate POST request is sent to a different endpoint, often labeled as "finish" or "create".Usually objkey returned from the previous requests is passed as a parameter in this final request. This objkey serves as a reference to the edited record in the temporary table and ensures that the changes made during the assistant's interaction are properly captured and processed.
/Trewon
")

")


Reply
Enter your E-mail address. We'll send you an e-mail with instructions to reset your password.